What You’ll Love About This Recipe
This homemade chocolate mousse is creamy, dreamy, and easier to make than you’d think. You’ll love how simple it is to whip up a dessert that feels fancy but doesn’t require fancy skills. First, it’s made with just a few basic ingredients you probably already have at home. Second, it’s light as air but still rich and chocolaty, satisfying your sweet tooth perfectly. Finally, it’s a great make-ahead dessert, so you can impress guests or enjoy it anytime without stress.
Recipe
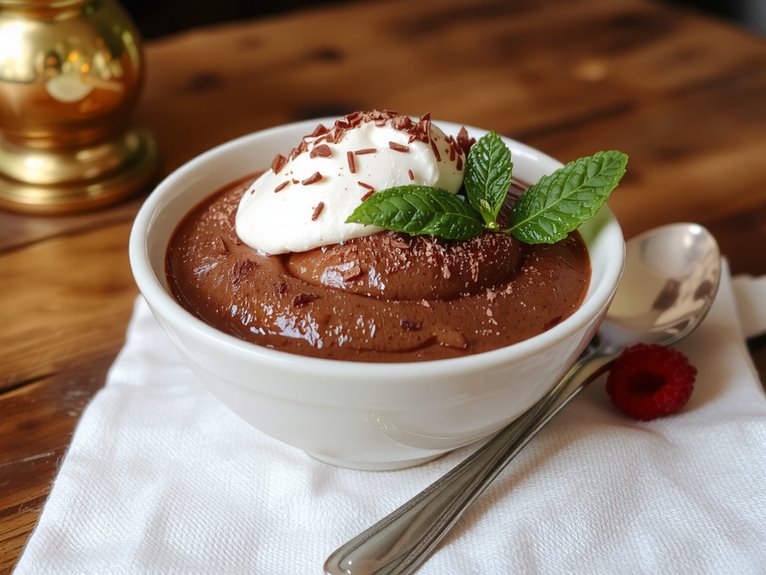
Indulge in this rich and creamy homemade chocolate mousse, a classic dessert that’s surprisingly easy to prepare. With just a few simple ingredients, you can create a luxurious treat perfect for any occasion.
Ingredients:
- 4 ounces (115g) semi-sweet chocolate, finely chopped
- 2 tablespoons unsalted butter
- 2 large eggs, separated
- 1/4 cup (50g) granulated sugar
- 1/2 cup (120ml) heavy cream
- 1/2 teaspoon vanilla extract
- A pinch of salt
Instructions:
- Melt the chocolate and butter together in a heatproof bowl set over a pot of simmering water (double boiler method), stirring until smooth. Remove from heat and let cool slightly.
- In a separate bowl, whisk the egg yolks with 2 tablespoons of sugar until pale and slightly thickened. Gradually mix the melted chocolate into the egg yolk mixture.
- In another bowl, beat the egg whites with a pinch of salt until soft peaks form. Gradually add the remaining 2 tablespoons of sugar and continue beating until stiff peaks form.
- Gently fold the whipped egg whites into the chocolate mixture until fully incorporated.
- In a separate bowl, whip the heavy cream and vanilla extract until soft peaks form. Fold the whipped cream into the chocolate mixture until just combined.
- Divide the mousse into serving dishes and refrigerate for at least 2 hours, or until set.
Notes:
- Make sure the chocolate mixture is slightly cooled before adding it to the egg yolks to prevent scrambling.
- Use a clean, grease-free bowl when whipping egg whites for best results.
Equipment:
- Heatproof bowl
- Double boiler or saucepan
- Mixing bowls
- Whisk or electric mixer
- Serving dishes
Time:
Prep Time: 20 minutes
Cooking Time: 5 minutes
Chilling Time: 2 hours
Cuisine:
French
Serving:
Serves 4
Nutrition
1 serving of homemade chocolate mousse contains approximately:
| Nutrient | Amount |
|---|---|
| Calories | 320 |
| Fat | 22g |
| Carbohydrates | 28g |
| Protein | 4g |
| Sugar | 24g |
What To Serve With It
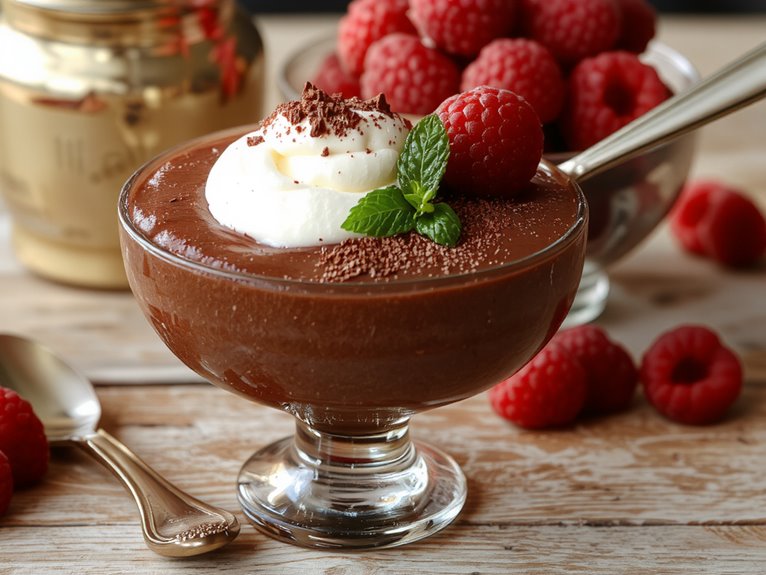
I love pairing my chocolate mousse with fresh berries because they add a pop of color and a tangy contrast to its richness. A dollop of whipped cream on top makes it even more luxurious, balancing the deep chocolate flavor perfectly. These simple additions turn the dessert into something truly special without a lot of extra effort.
Fresh Berries Garnish
When I make chocolate mousse, I love topping it with fresh berries because they add a pop of color and a sweet-tart contrast that balances the richness. I usually go for raspberries, strawberries, or blueberries since they pair perfectly with chocolate. Sometimes, I’ll toss in a few blackberries or sliced kiwi for extra flair. The natural juiciness of the berries cuts through the creamy mousse, making each bite invigorating. I arrange them artfully on top, so it looks as good as it tastes. Fresh berries not only elevate the flavor but also make the dessert feel a little fancier without much effort.
Whipped Cream Topping
A dollop of whipped cream on chocolate mousse takes it from great to irresistible. I love how the light, airy texture contrasts with the rich, velvety mousse, creating the perfect bite. Making whipped cream at home is super easy—just whip heavy cream with a bit of sugar and vanilla until it forms soft peaks. I often add a sprinkle of cocoa powder or chocolate shavings on top for extra flair. It’s a classic pairing that never disappoints, and it’s so simple to customize. Trust me, once you try it, you’ll want it on every dessert. It’s the cherry on top—minus the cherry!